# Tasks
The "tasks" app allows you to streamline, organize and coordinate with your teammates.
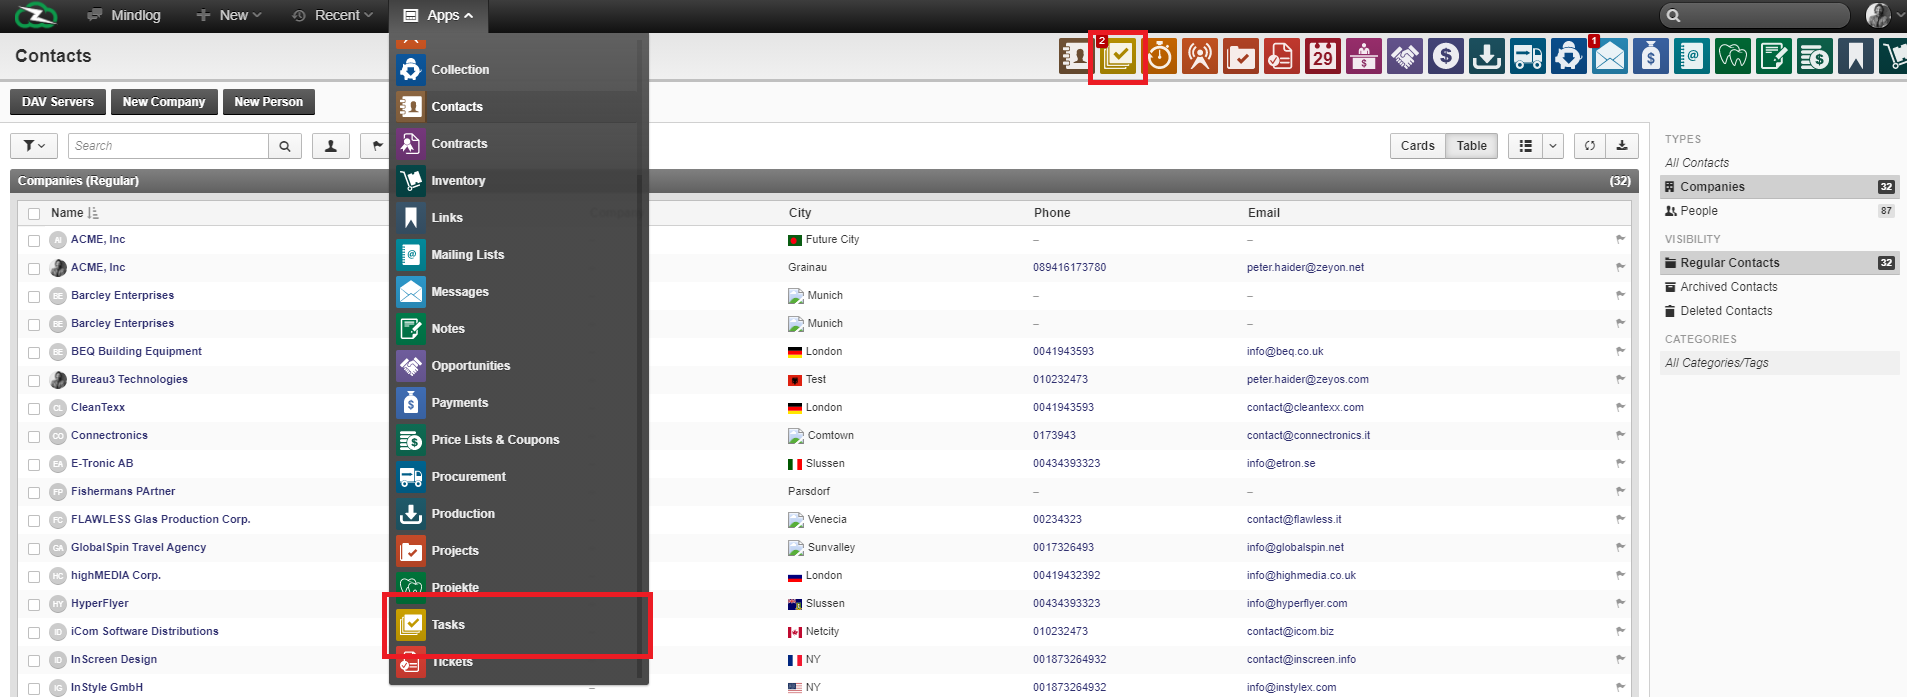
To access this app simply click on it from your application menu.
# Creating a task
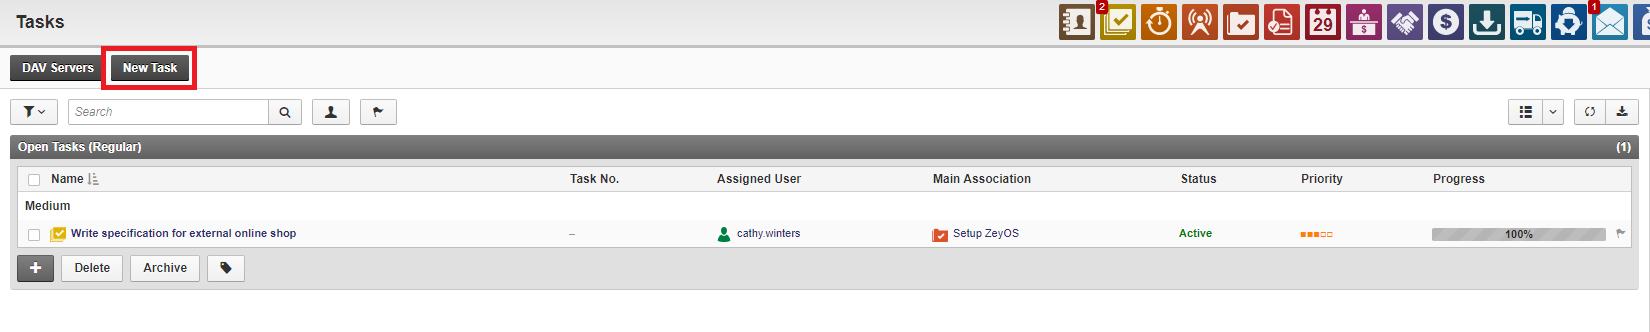
To create a task, click on the "new task button".
Let's start by creating a task. To do so, click on the "new task button".
From here, you can fill in all the information needed for your tasks starting with its name, its task number etc...
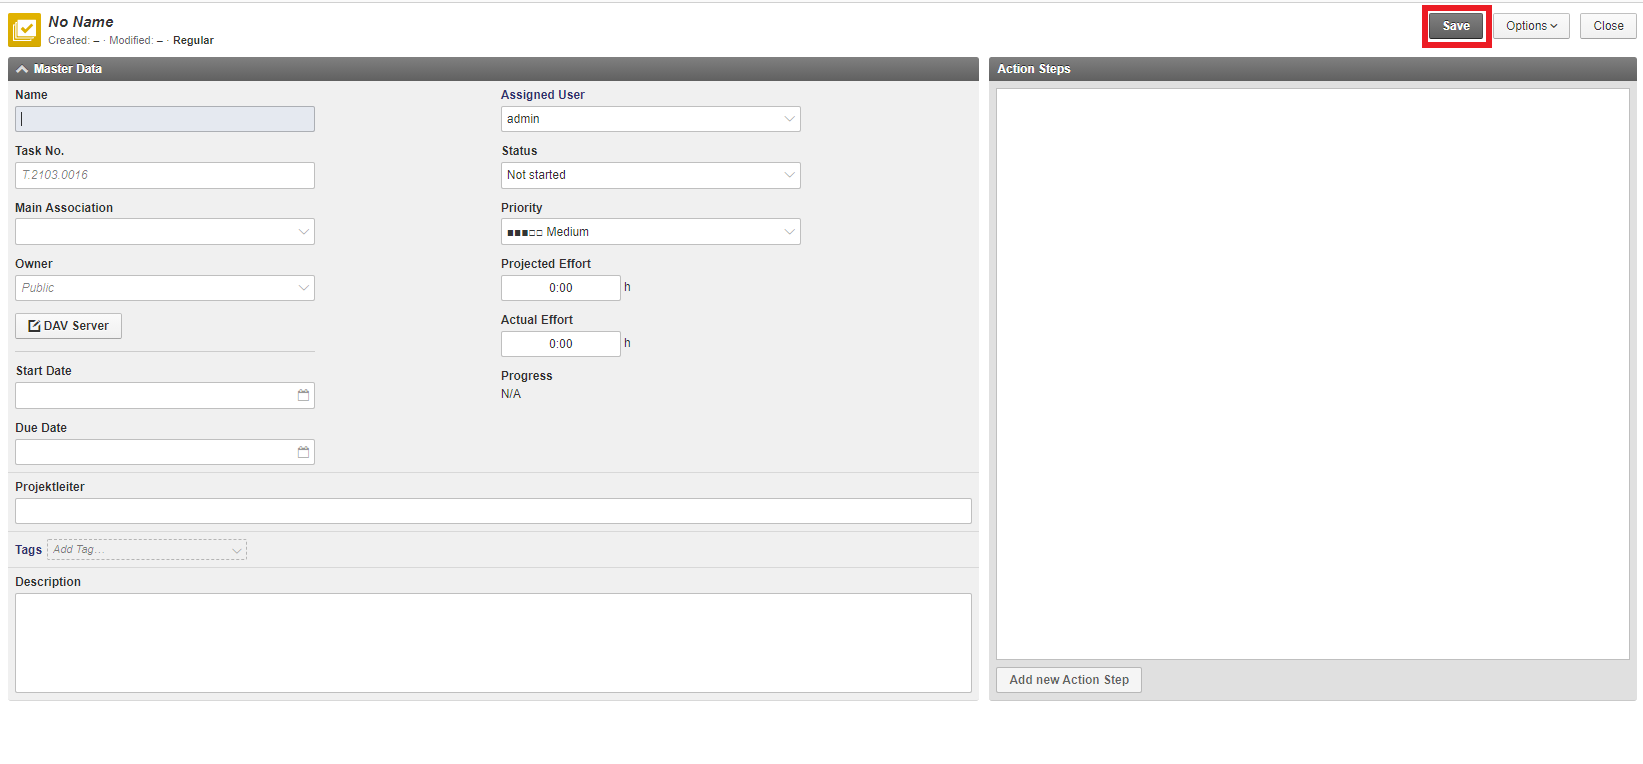
Once this is filled, save
The assigned user is responsible for the task, which means you can create a task for someone else. The "status" box allows you to inform other users of the progress made on that task and its status, such as if the client has accepted it. The "Main association" button enables you to add a task to a larger group of tasks, emails, campaigns, etc... The "Owner" button makes it possible to decidee who has access to the task. Via the "Priority" box you are able to classify your tasks by degree of importance. The "Projected Effort" box allows you to enter the time you expect this task to take and therefore project its cost. Into the "Actual effort" box you can enter the time the task actually took, fill this box when the task is completed only. You can also add a start date and due date, a description and tags to categorize your task.
Once this is filled, save.
# Adding action steps
Adding action step allows you to synchronize with your team on precise aspects of the task. Action steps can be communicated to other users included in the task and help set a deadline or a meeting. They can function by duration or timeframe.